
Wearable Tech
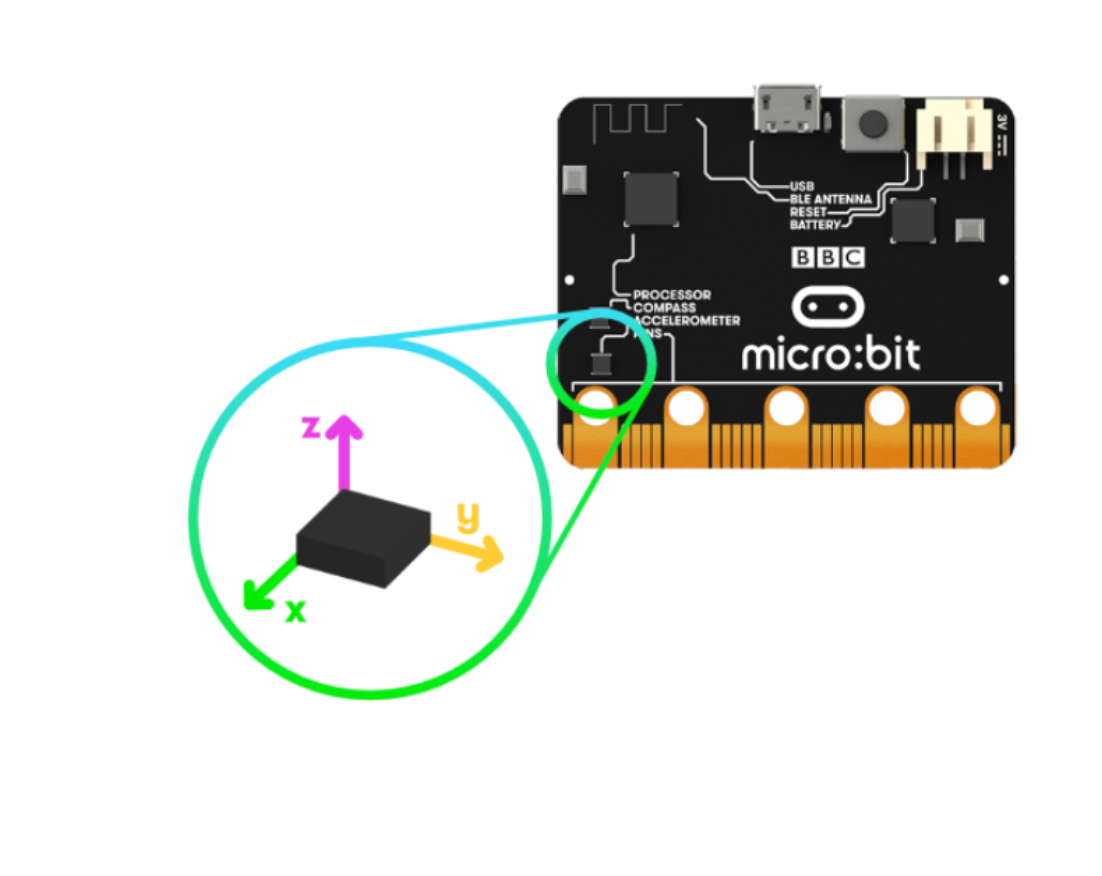
The micro:bit’s built in accelerometer lends itself to exploring lots of exciting wearable tech projects.
The step counter project is a great starting point and this document provides some ideas for exploring things in greater depth.
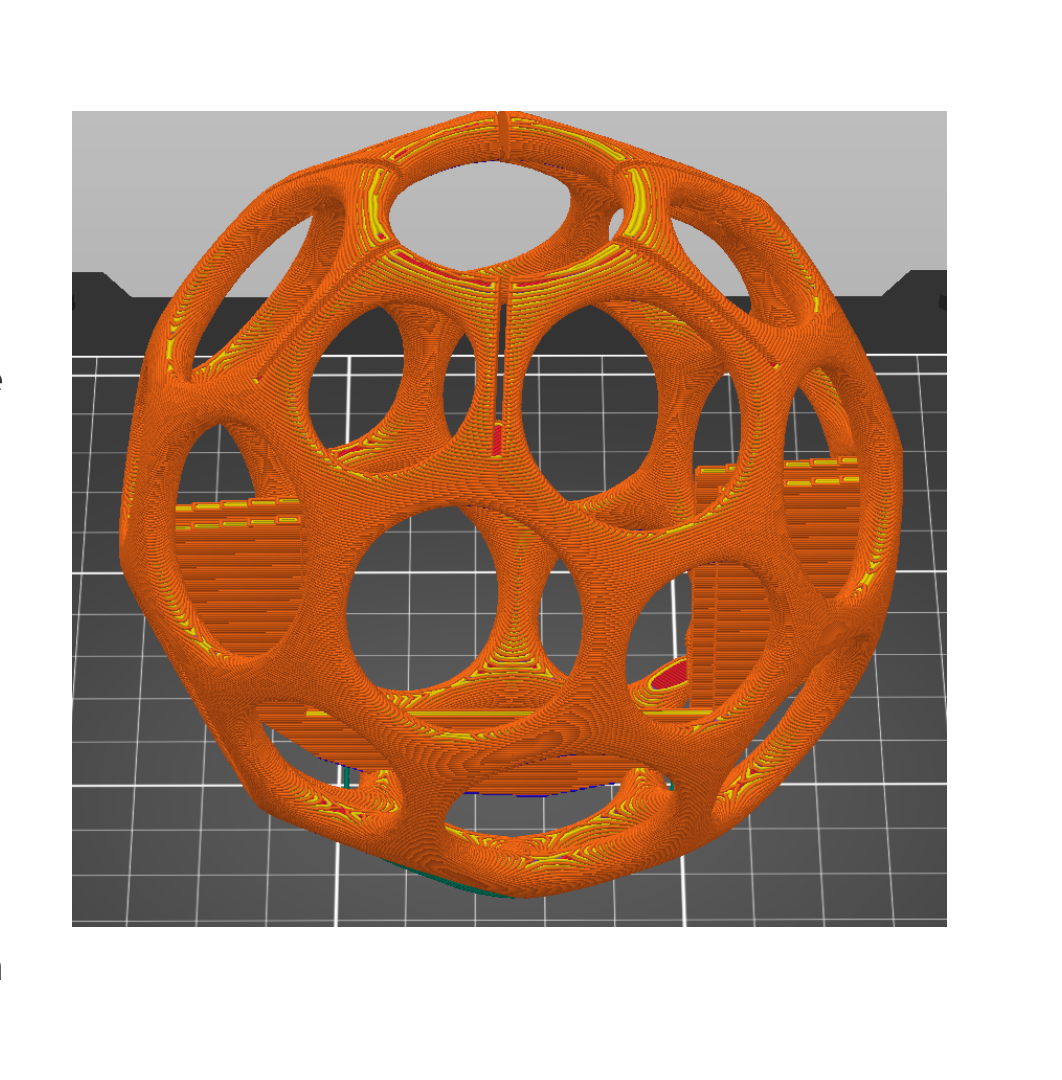
Have a Ball!
This 3D printed ball provides students an engaging form factor to explore various programming concepts that take advantage of the onboard gyro/magnetometer/accelerometer, lights and sound. Sample projects include:
GAMES
- Count catches without dropping the ball.
- Create a game of hot potato
- Design a magic 8 ball
- Design a game where balls interact with each other…
PHYSICS
- How much force is put on the ball when it is caught vs. dropped?
- How can we influence the force on the ball?
- What can we learn from logging the real time data from the accelerometer?
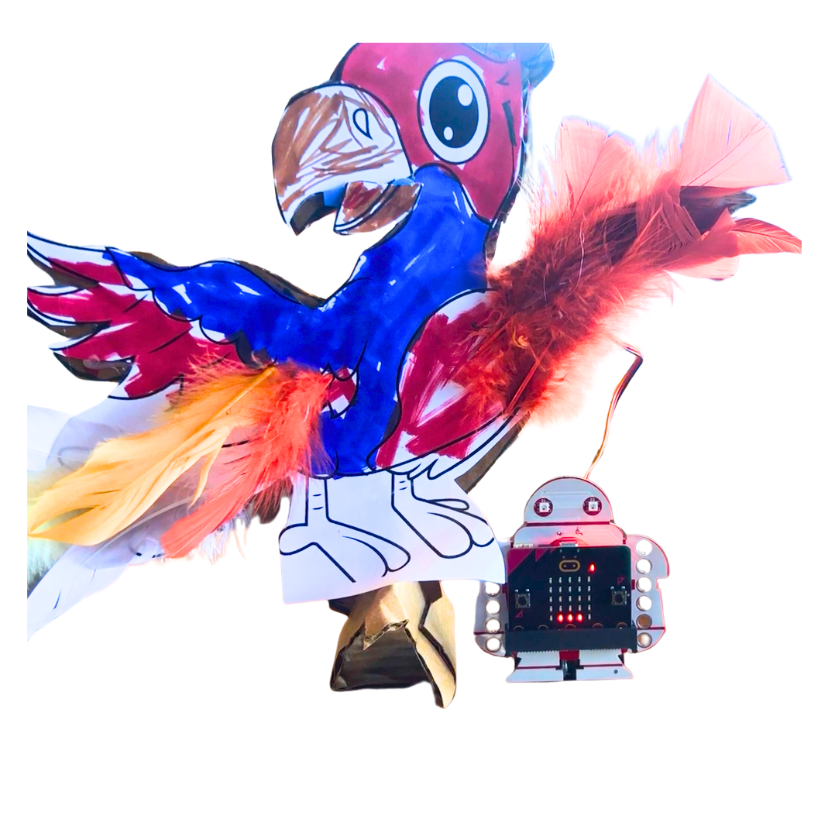
Talking Robot
Take advantage of the micro:bit’s built in sound sensor to make a lip-synching robot. This is great starter project because both the build and code can start very simple but both lend themselves to endless creativity and imagination. A good place to start is with Cecilia Hillway’s Instructable.
Only materials needed are a positional servo motor and you bit:explorer and micro:bit. Recommended materials are glue dots, canary cutters, and craft materials.
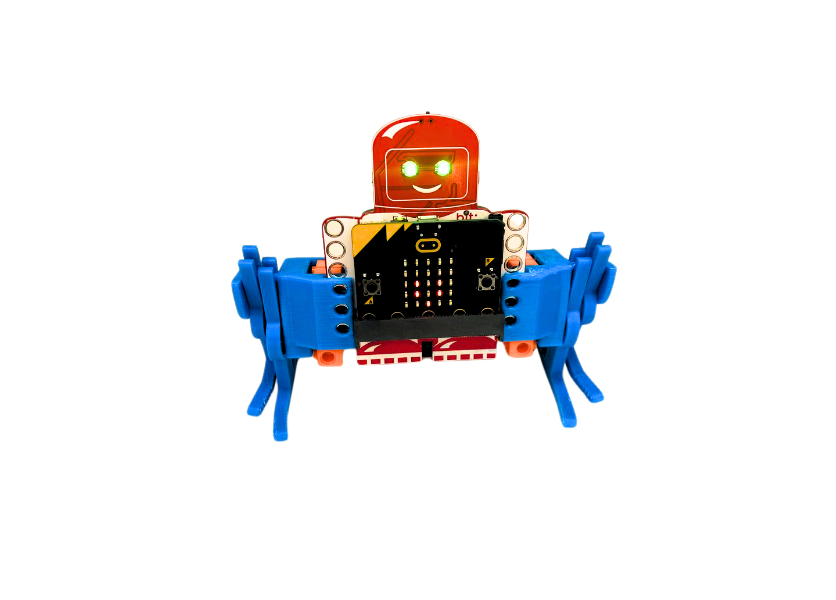
Walking Robot
Take your bit:explorer for a walk with 2 continuous servos and this fun 3D Printed project. Files and instructions can be found on Thingiverse.
Do you have another bit:explorer or Makey:bit and a Mission Control? Here’s some sample code you can use for the Mission Control. Control the robot itself with this code.
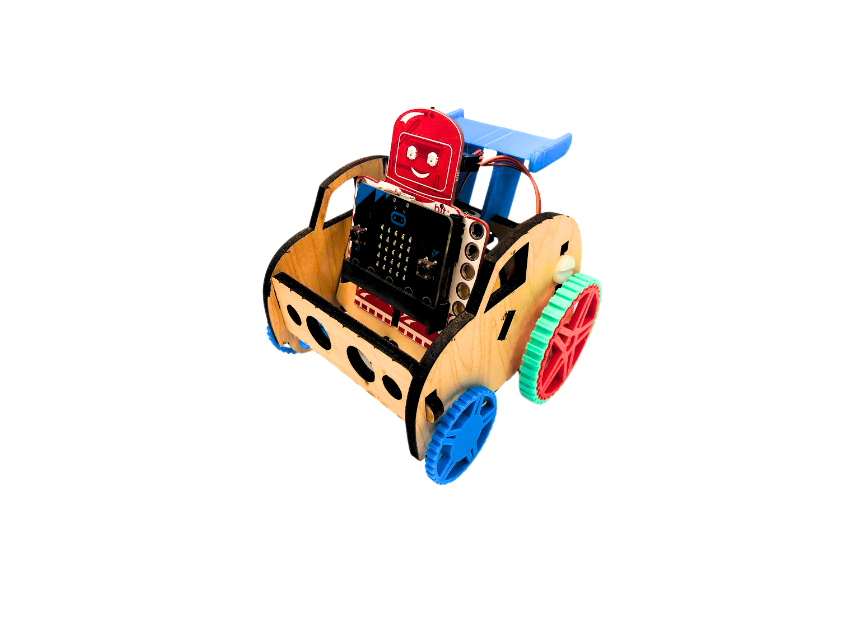
Buggy
If you have access to a laser cutter, why not make a simple car for your bit:extplorer. This version has 3D printed wheels (spoiler and front wheels are optional).
Laser Cutter File: Buggy
3D Printing Files (on Tinkercad): File Rear Wheel, Rear Wheel Tread (TPU or softer recommended), Front Wheel, Front wheel (marble option), Spoiler.
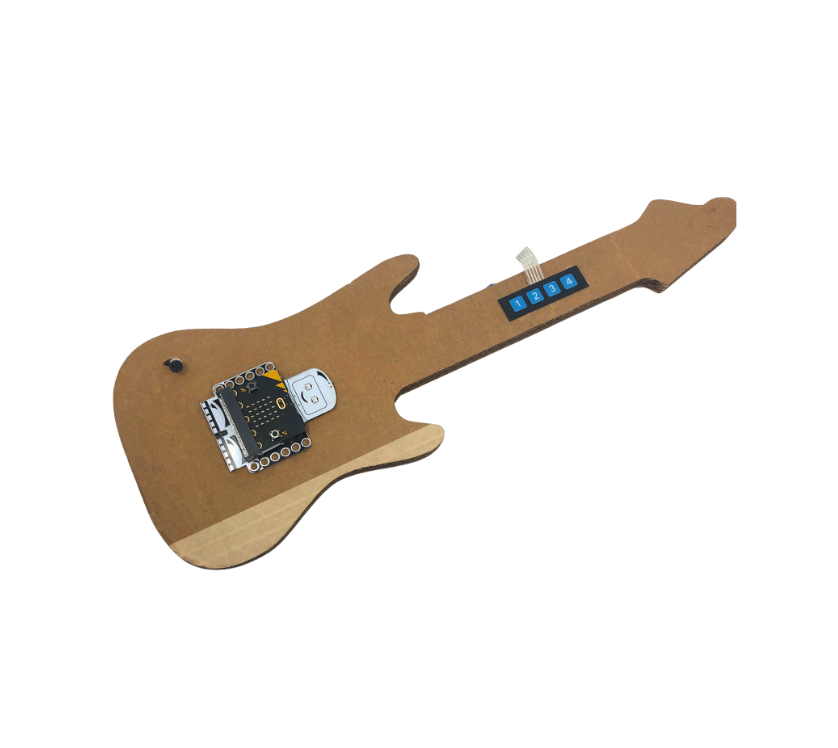
Guitar Project
Build a guitar that plays 4 power chords. This project is based on this wonderful Inventables project by Nasha Dzurny
Parts List: 4 Button Keypad, Male-Female Pin Wire, Guitar Body Template,
Follow this link for the MakeCode Code

BIT:EXPLORER
Not sure where to start? Try the bit:explorer.
The bit:explorer is designed for beginners and power users and provides a low-cost solution for unlimited projects with the micro:bit.
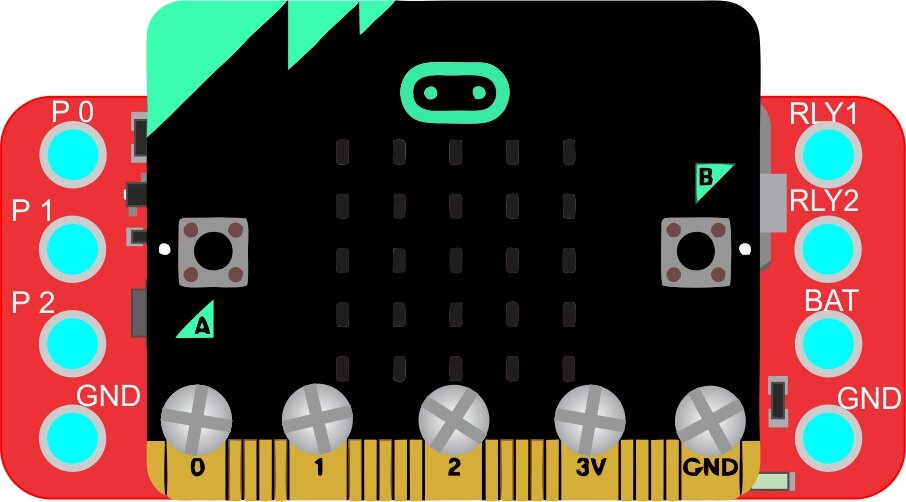
BIT:BUDDY
Excited to explore wearable electronics? Try the bit:buddy. The micro:bit and bit:buddy are the perfect form factor for wearable projects.
The bit:buddy adds a battery, relay, sound and easy access to ports 0, 1, 2... all in a package as small as a pack of gum.
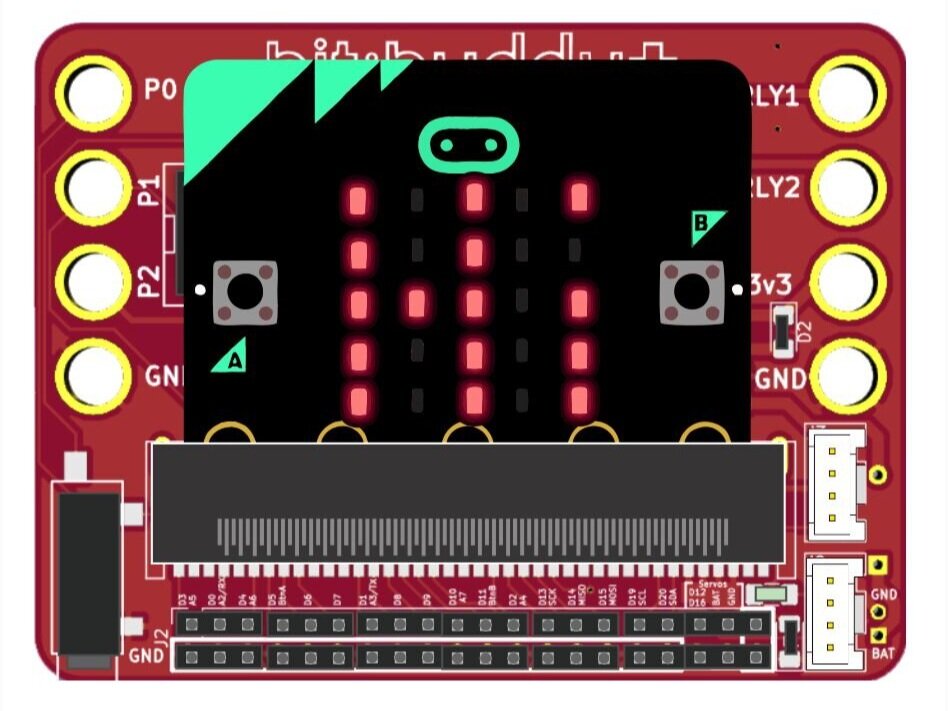
BIT:BUDDY+
The bit:buddy+ packs a lots of features into a small footprint. With easy access all the pins, multiple I2C devices, a built in relay and much more.
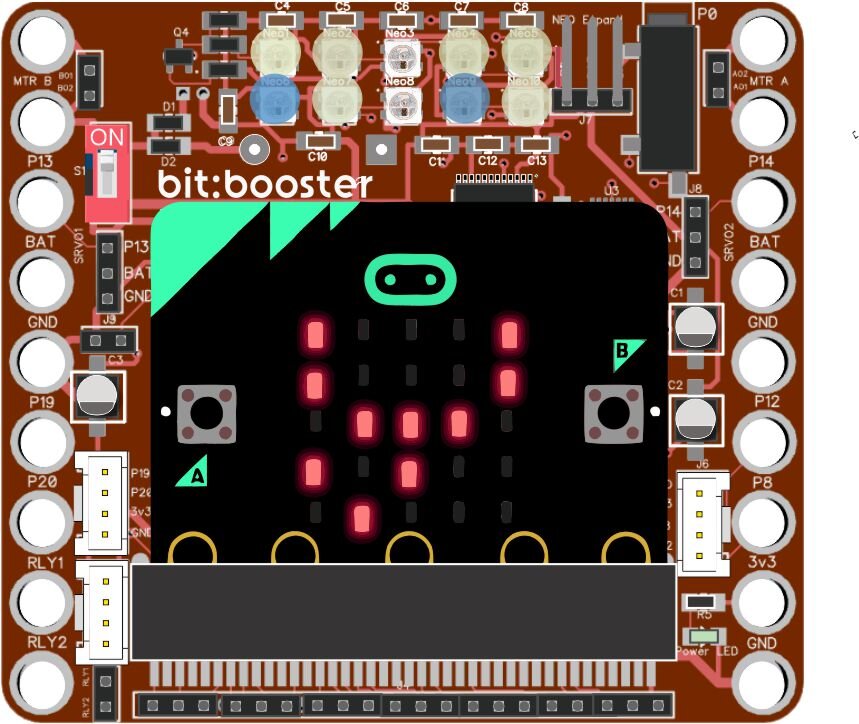
BIT:BOOSTER
Ready to take your micro:bit into the world of robotics, sensors and embedded systems?
The bit:booster makes it easy to connect standard sensors, hobby motors, servo motors and even LEGO™ robotics components.